The letter “Klartext KI”
Once a month a use case from practice and an honest assessment — with a double opt-in, naturally.
Archive · Blog · 30 October 2017
Mautic automates marketing processes — which makes it a strong tool for small and mid-sized companies. This guide shows step by step how to set up a double opt-in in Mautic for collecting valid email addresses you are allowed to use for marketing.
 AuthorMatthias EgerCertified Manager for Applied AI Transformation (IHK)
With intelligently placed campaigns and triggers, Mautic becomes a powerful helper for online marketing, customer loyalty and customer service. The heart of a serious email list is the double opt-in: a contact only counts as confirmed once they have reinforced their sign-up by clicking an activation link.
The article was written in 2017, shortly before the GDPR came into force in 2018. Even then it held true: the technical infrastructure has to be prepared for data protection. It helps to rely on tools that can do it — and the double opt-in is still the standard for that today.
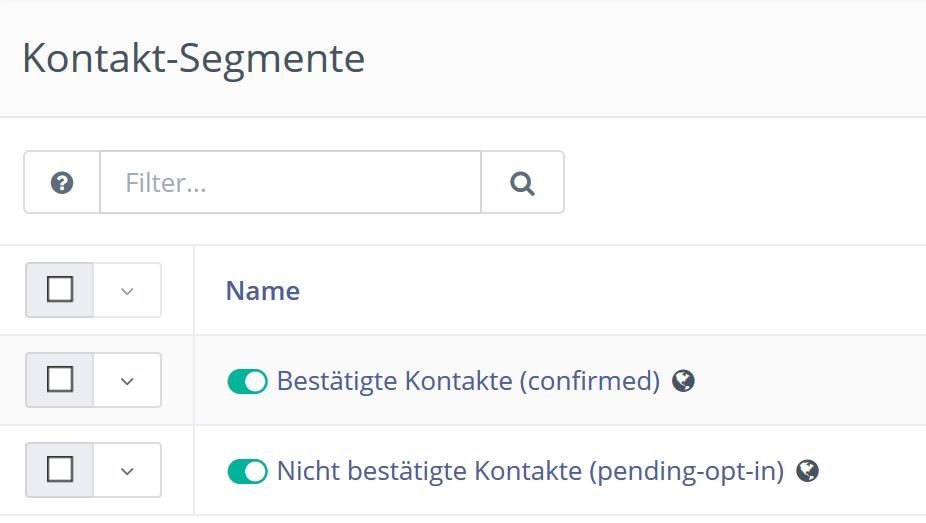
First, two contact lists are created — through the menu item “Segments” and the button “New”: a list “unconfirmed contacts” and a list “confirmed contacts”. The aim is for new contacts to flow into the list “unconfirmed contacts” first. Later, each contact is moved into the list “confirmed contacts” by visiting the activation page.
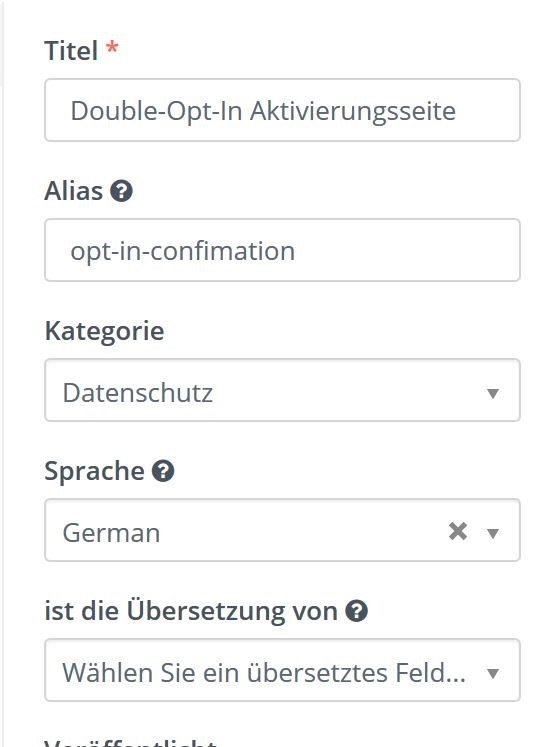
Contacts who react to the confirmation email are forwarded to an activation page. Their visit triggers the command in the background to move the contact into the list “confirmed contacts”. The activation page is a simple landing page in Mautic — created through the menu item “Components” under “Landing Pages”, designed however you like, in this example built in code mode.
Important: note down the ID of the landing page right away. The easiest way to find it is in the address bar when you click the landing page entry or hover over it with the mouse — the address ends similar to “…/pages/edit/2”. The 2 at the end is the ID. You will need it later in the confirmation link of the confirmation email.
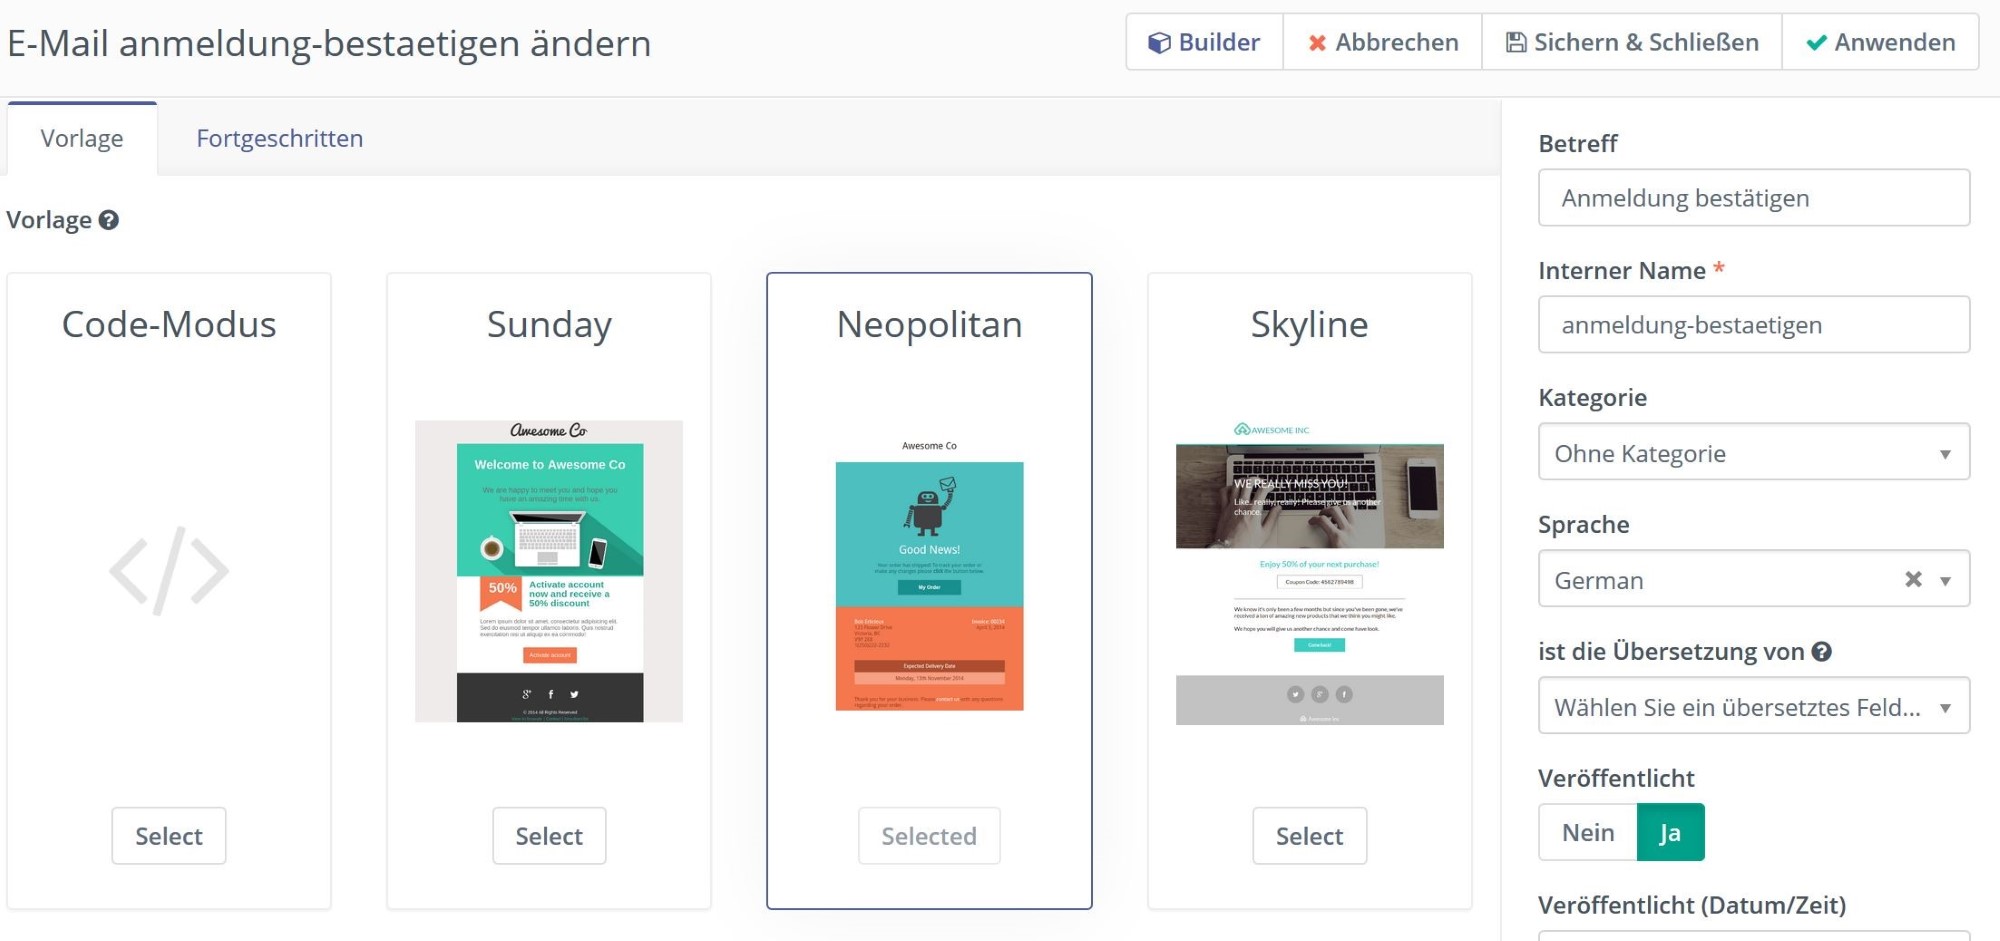
Contacts who sign up to the list land in the list “unconfirmed contacts” first. Only clicking the link in the confirmation email and visiting the landing page turns them into confirmed contacts — and for that you need a suitable confirmation email. It is created in the menu item “Channels” under “Emails”, again through the button “New”. In this example the template “Neapolitan” serves as the basis — the email can be designed however you like, though.
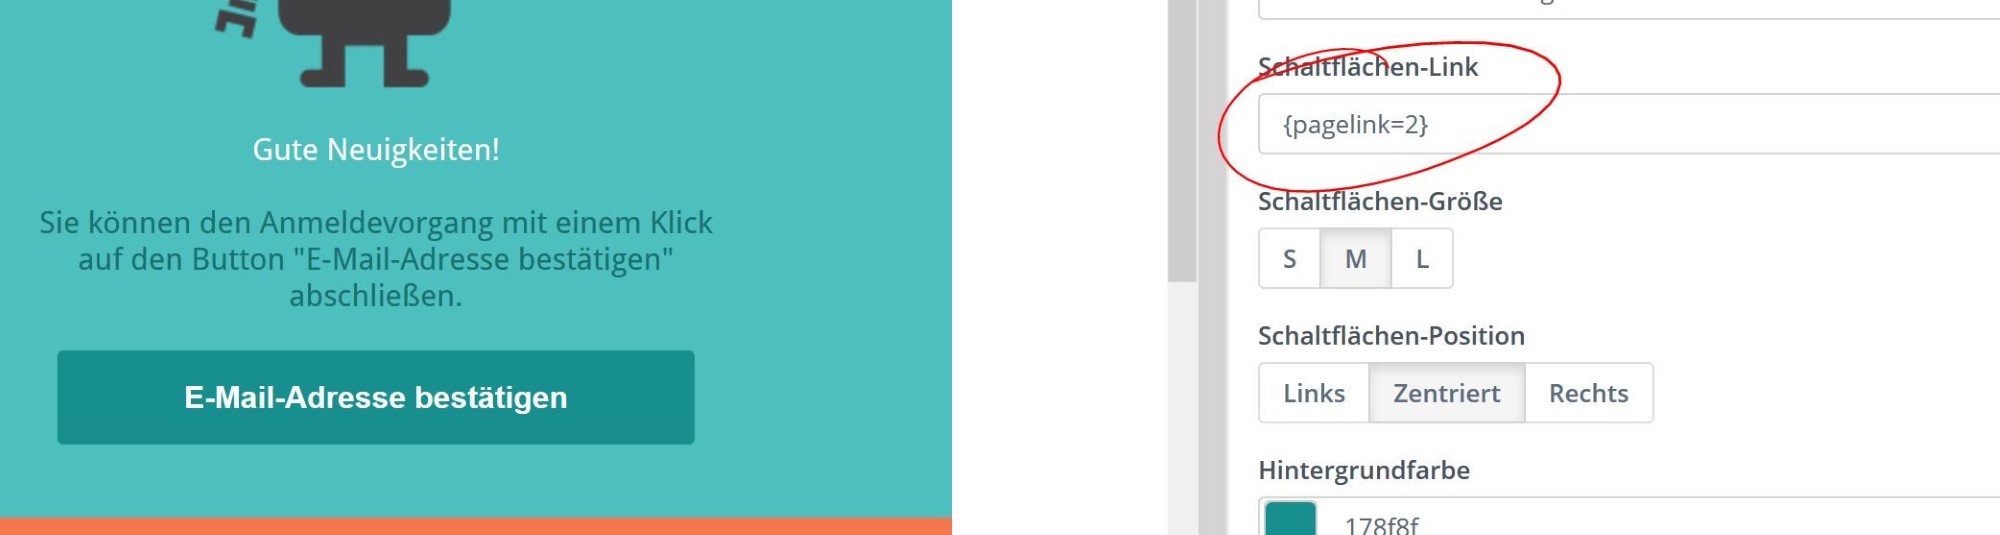
The most important part is the link that takes the reader to the landing page you created. Insert a link in a suitable place that carries the value {pagelink=ID} as its HREF attribute — as the ID, the landing page ID you noted down, so {pagelink=2} in this example.
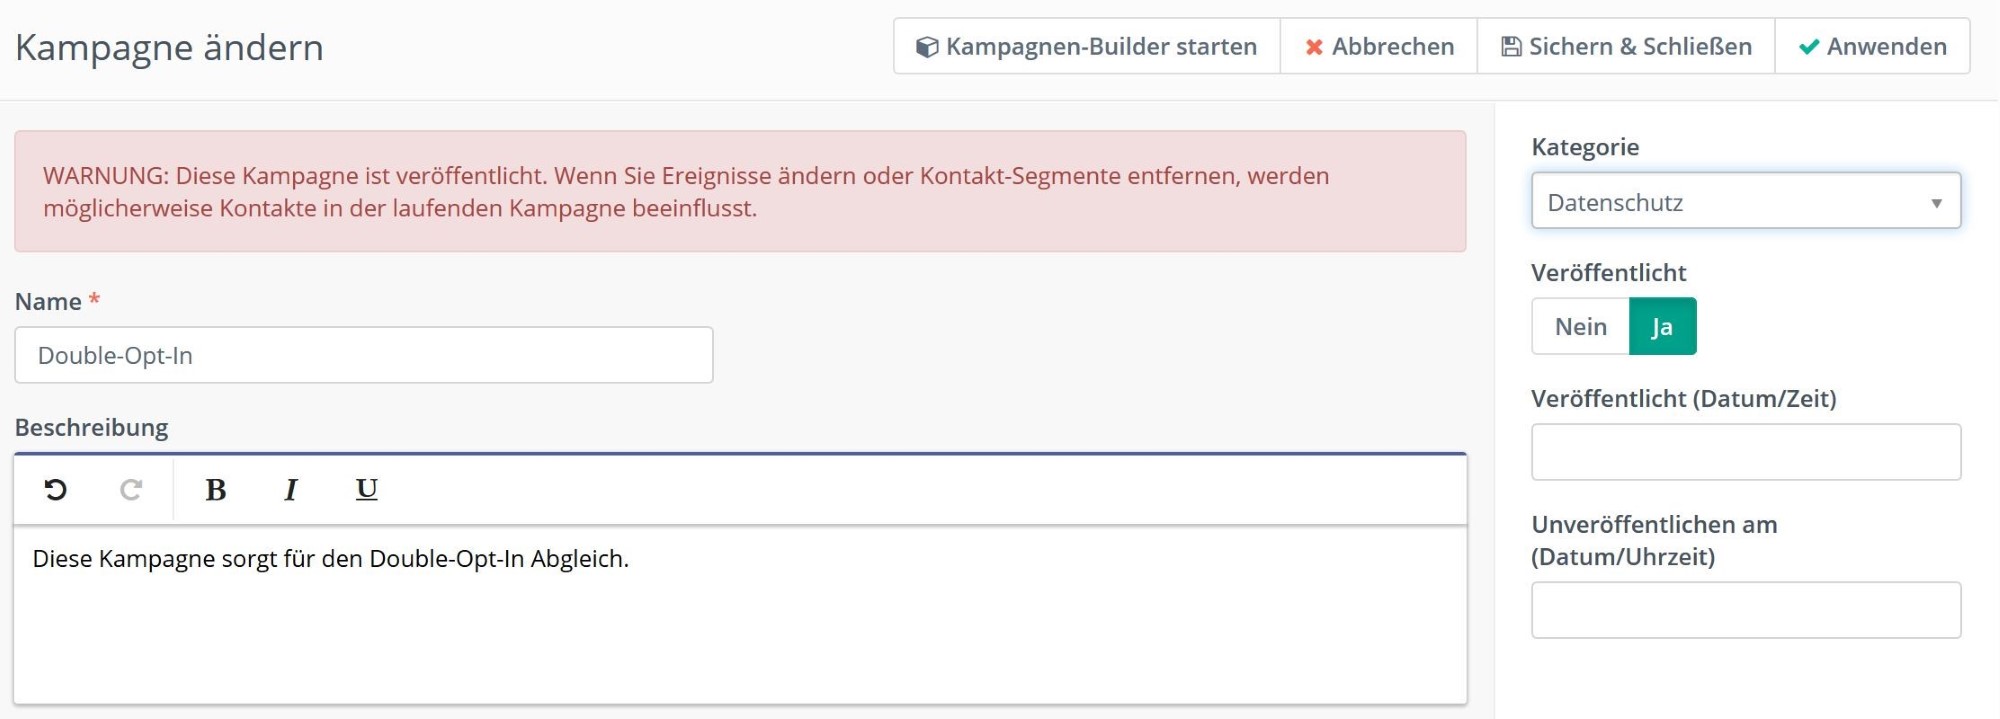
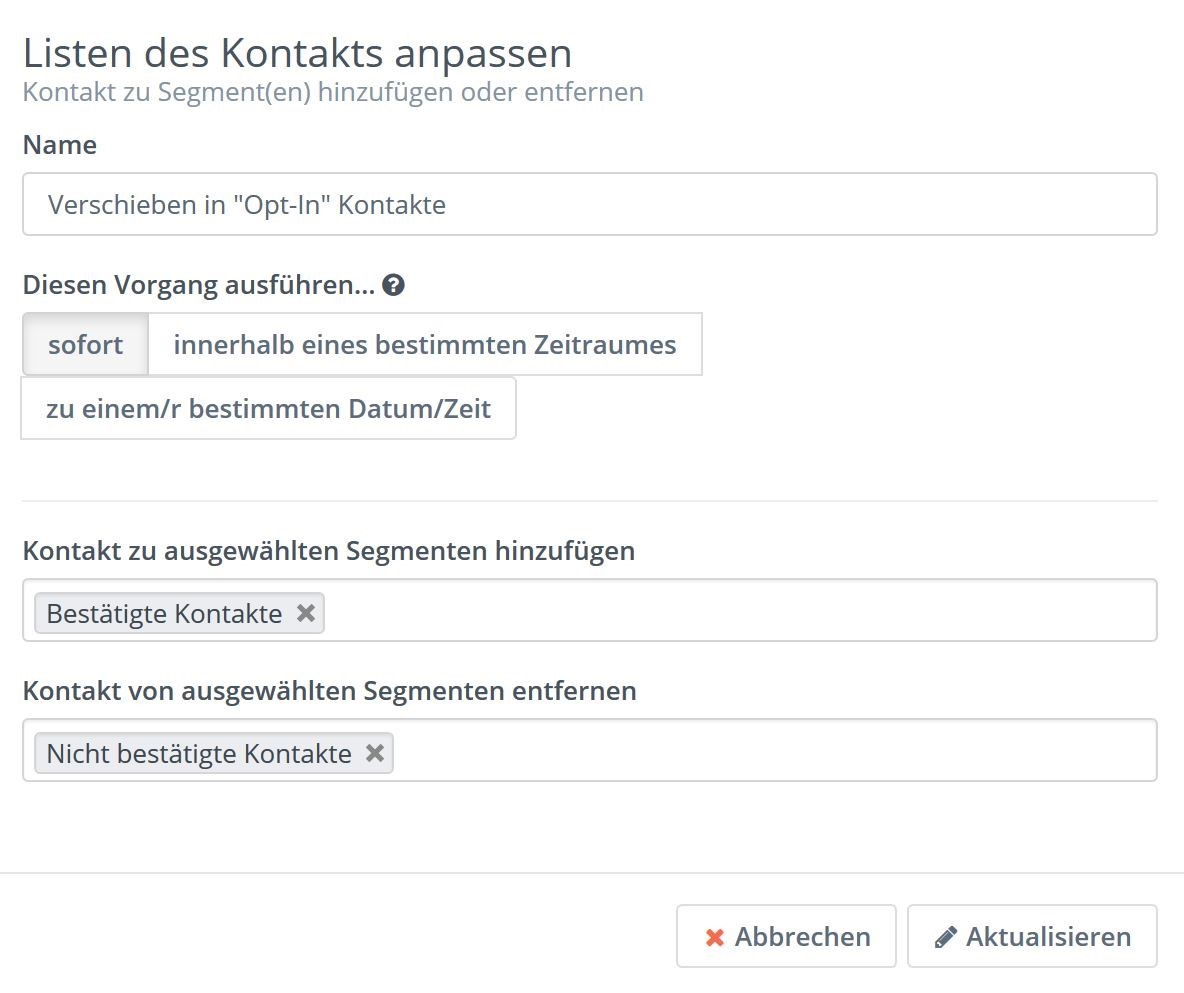
The heart of the process is the campaign — it takes care of the technical side: it moves the contact from the list “unconfirmed contacts” into the list “confirmed contacts” as soon as they have clicked the link in the confirmation email and visited the landing page. It is created in the menu item “Campaigns”, in this example under the name “double opt-in”.
In the campaign builder the campaign is clicked together step by step — the necessary elements (landing page, confirmation email, contact lists) already exist. The start is the entry point: in this case a form “new customer entry point” used as a sign-up form on another website.
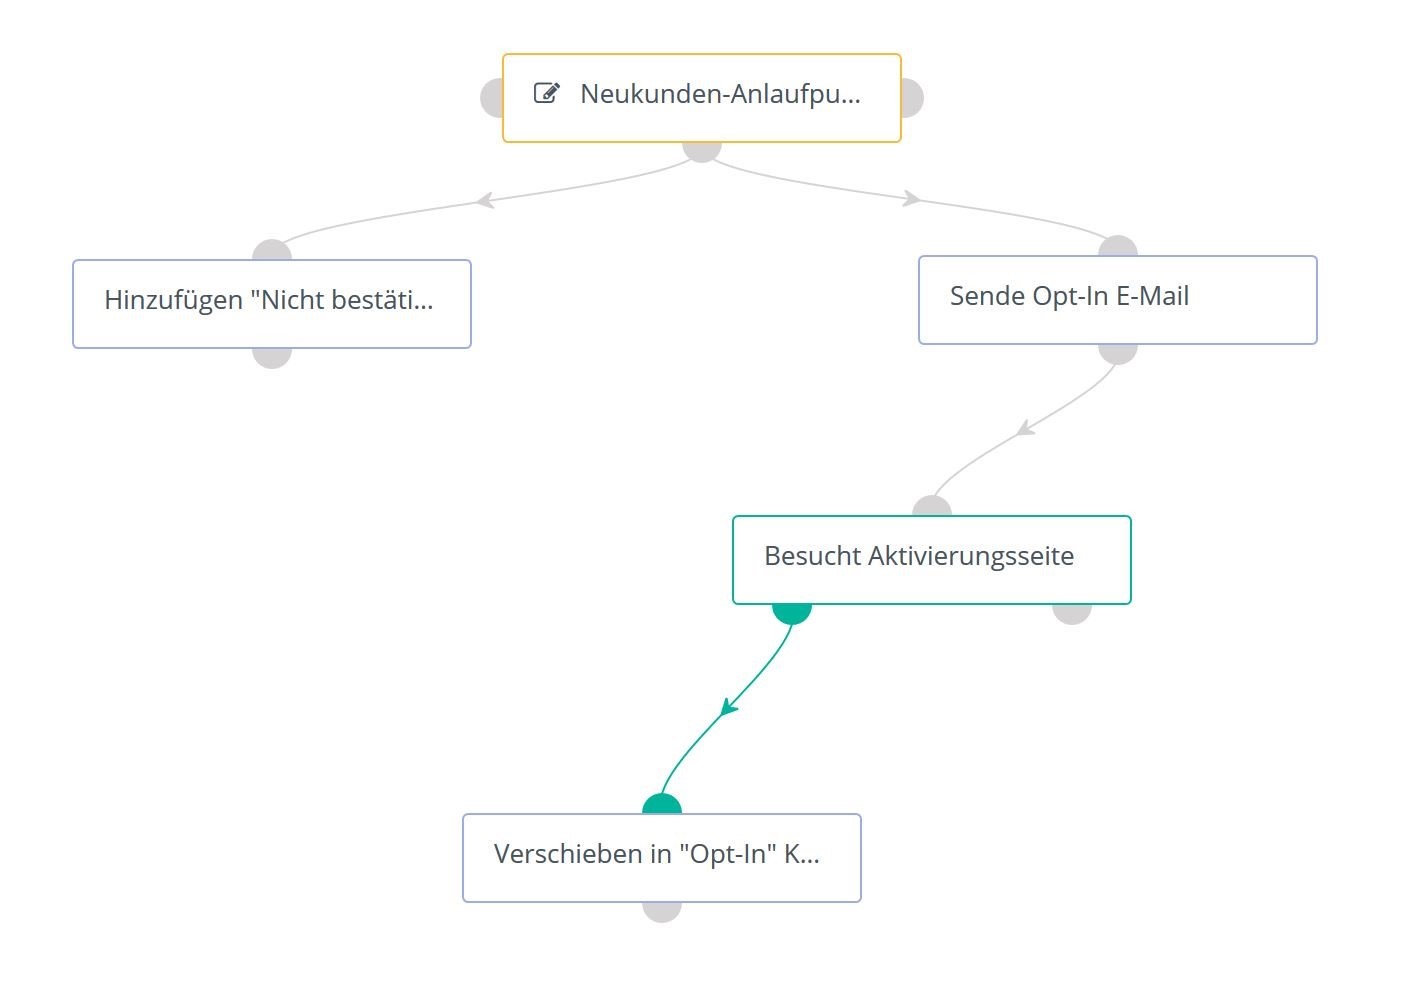
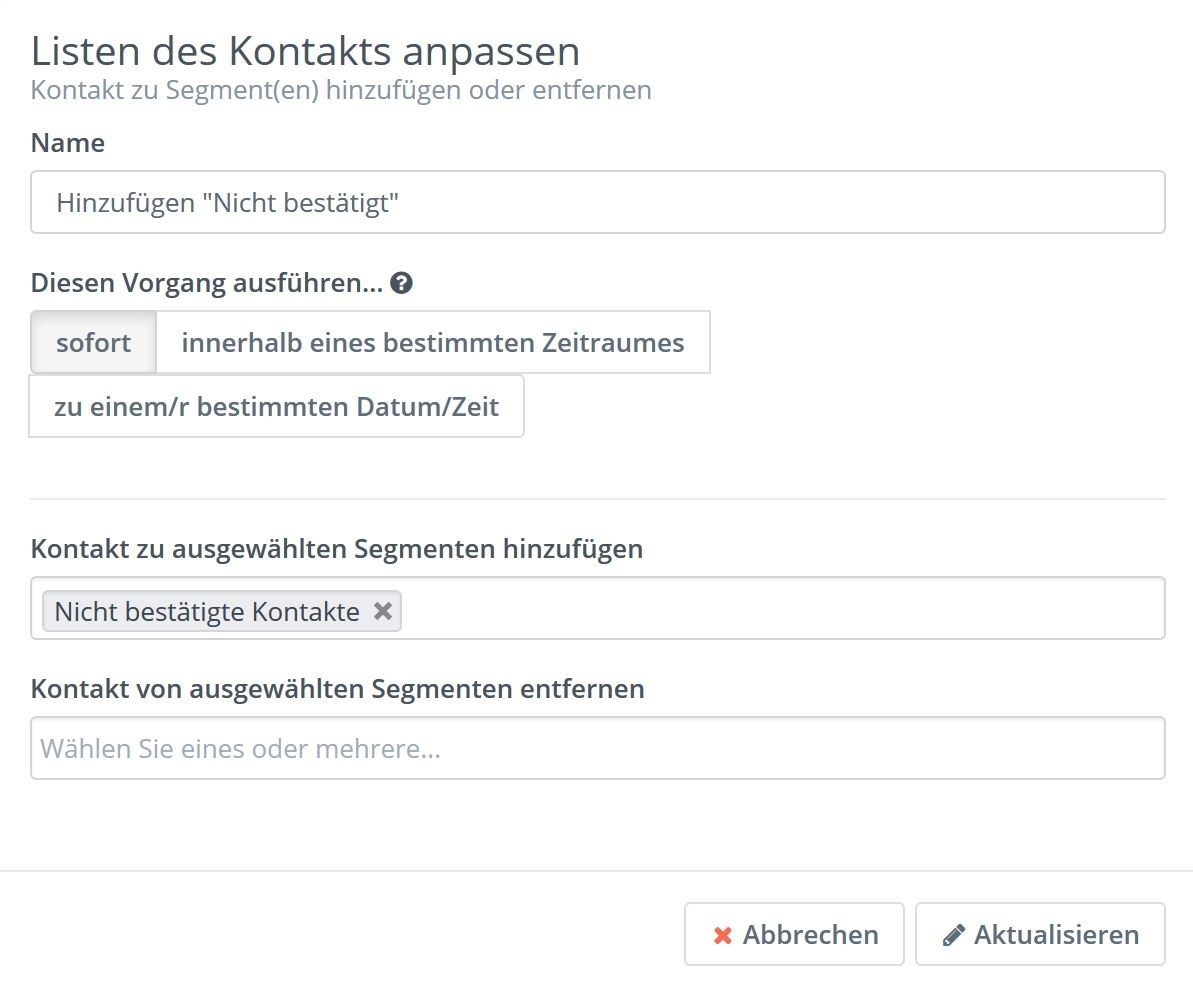
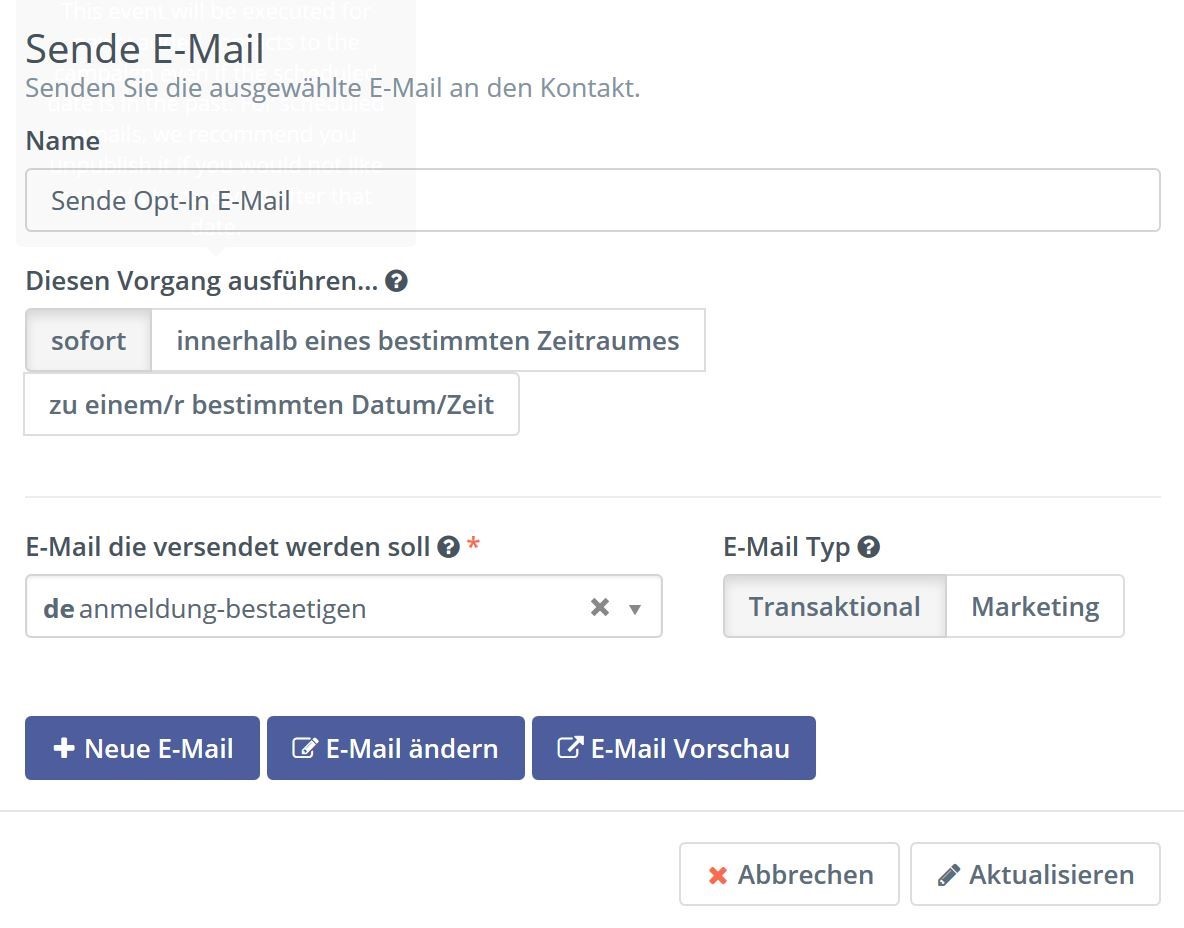
Below it the first action is attached: “add to unconfirmed” moves the contact into the list “unconfirmed contacts”. At the same time another action follows directly under the entry point: “send opt-in email” sends the confirmation email created above to the contact.
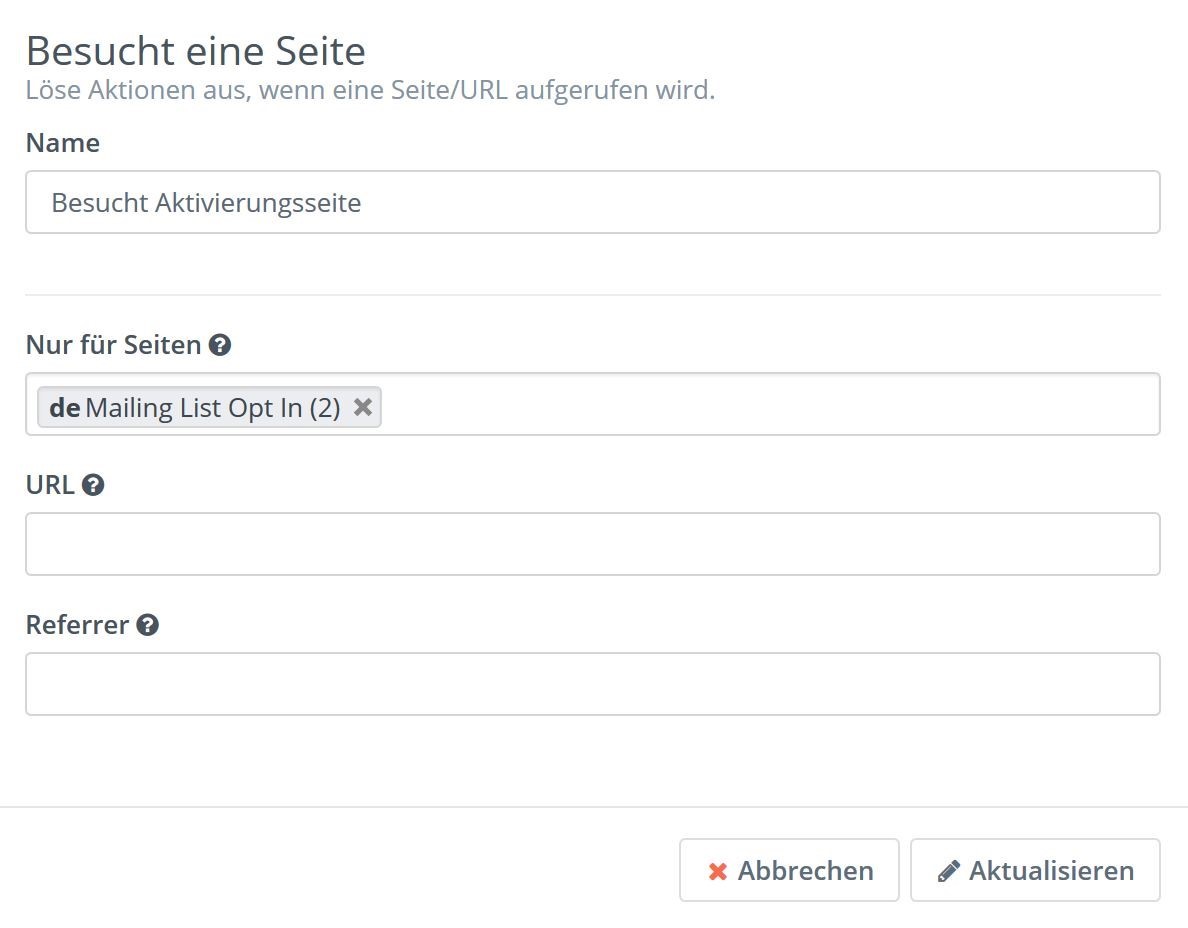
After sending, the campaign is to check whether someone clicked the confirmation link. For that, the condition “visits activation page” is added under “send opt-in email” — with two possibilities: “yes” (green path on the left) or “no” (red path on the right). Action is only taken if the activation page was visited: below the green yes path follows the action “move to opt-in contacts”, which finally moves the contact into the list of confirmed contacts.
“A lot of talk for a short point — but this way the right contacts are in!”
That completes the double opt-in campaign. The contacts in the list “confirmed contacts” have been collected cleanly and can be used for future email marketing campaigns.
My own letter “Klartext KI” works exactly the same way: confirm first, then receive. Once a month, three minutes of reading.